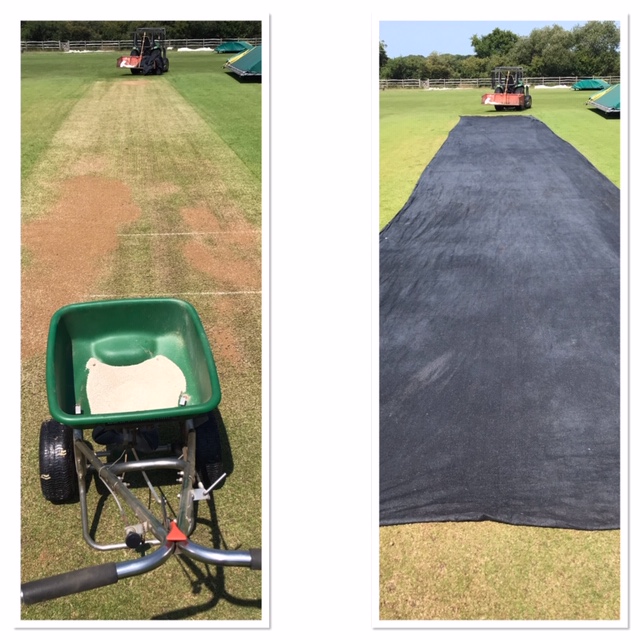
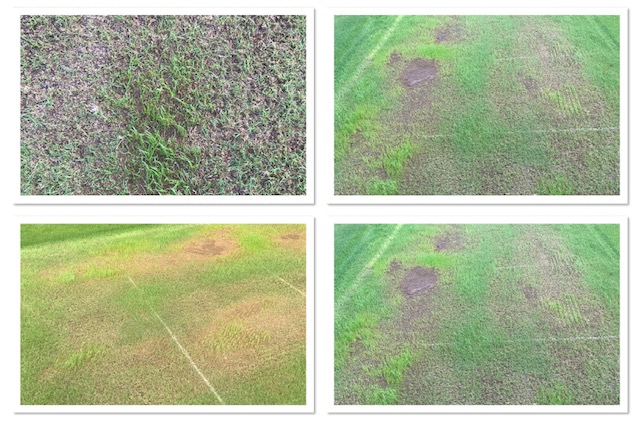
Six Step of How to renovate a used cricket wicket, some may say why bother when this can be done at the end of the season. My response to this if you can keep the ends level and grassed, it will make for a much easier renovations and it gives you a head start.
You will remove some of the seed and loam when you do the end of season renovations, but this will be marginal.l have found the ends of pitches l do repair in season do better post renovation.
Another benefit of in season end repairs is you will potentially, have less low areas on wet days to sweep out and sit wet.If your lucky the newly grass ends will help prevent games being called off.
I tend to repair my ends up to the end August, after that l do the rest during renovations at the end of September.
This season obviously is a bit different and some may have to cut there cloth accordingly and these are only my personal thoughts.

Step One- Brush Up Debris
Brush up the wicket after last use with and hand brush and Mechanical, brush or other means.

Step Two-Refresh with Water
Water heavily and if possible cover with domes or anything to shade to allow water to soak in , repeat as required to soften to a inch or so .

Step Three-Seed Bed Preparation
Once the surface is moist and not wet score the area to create a seed bed, you can use a hand fork, sisis ferret or a sarel roller or whatever you have to create holes for the seed.
Ideal seed depth 10-15 mm in depth .

Step Four- Seeding and Brushing in
Seed the pitch using a cyclone spreader, where very bare add a bit more by hand .
If seeding at 35 grams a square metre you need roughy around 2.3 kg of seed per pitch ( guide )
Brush the seed in, this can be done with anything including a hand drag brush, lawnman or anything else that will get some seed into the holes.

Step Five- Top-dress Low Areas
Allow the soil surface to dry a bit and then top dress any foot-holes, till level with the exiting levels and avoid putting topdressing on any high areas to prevent saddles/raised ends forming.
Levelling of ends can be done with a loot or straight edge .
If the loam is moist , you can always firm gently under the foot, this will prevent it sinking and be easier to level .
Some groundsman also topdress down the pitch, into seed holes but this is probably quite rare in club cricket.

Step Six- Application of a Pre Seed Fertiliser
Final check to levels then there’s the option of an application of a pre seed fertiliser, containing phosphorus which is great for the new roots.

Step Seven-Germination Sheet and Water
Last but not least cover with a germination sheet , debris netting whatever that will help keep the birds off and keep some moisture.
Water if possible twice a day and keep a eye under the sheets and remove once then new seed is up and growing well.

First Cut
Ideally top off the new seed with a rotary when the seed is around 25 mm and gradually reduce down to the height of the square (12-15 mm) as the grass cover thickens .
Top tips- during games you can use a coconut matt to prevent players from damaging the new seed and topdressing till all established.
I hope your enjoyed my Six Step of How to renovate a used cricket wicket, some may say why bother when this can be done at the end of the season. and please do let me know how you do your ends, like you all l am always open to learning and improving.
Brian


2 comments
Another first class blog that’s a highly beneficial guide
Appreciate the comment Chris